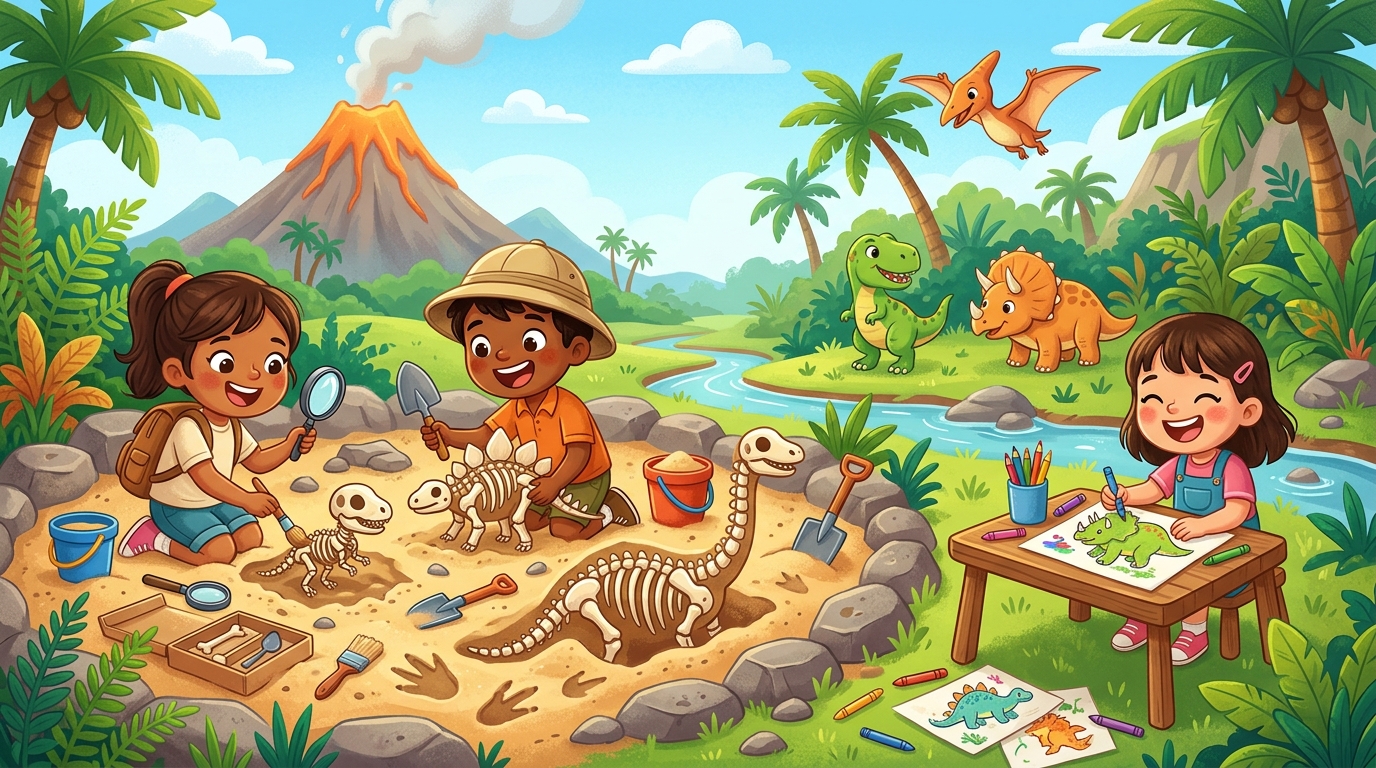
Transform Your Living Room into a Real Jurassic Excavation Site!
Have you ever dreamed of traveling back in time, long before the appearance of skyscrapers and cars, to an era when gigantic creatures ruled the Earth? If your child is fascinated by the roars of the T-Rex or the majestic silhouette of the Diplodocus, it is time to take action. Organizing a kids' paleontologist workshop at home is the perfect activity to turn a rainy afternoon into a thrilling scientific adventure.
There is no need to head to the Gobi Desert or the arid lands of Argentina to make incredible discoveries. With a little imagination, your living room can become the stage for a memorable archaeological expedition. Ready your explorer hats, grab your magnifying glasses, and prepare to unearth the secrets of the past. Here is how to set up this kids' paleontologist workshop to spark the curiosity of your little budding scientist.
The Complete Gear for the Perfect Little Explorer
Before beginning the excavation, every good scientist must be well-equipped. A DIY paleontologist kit does not require expensive investments; you likely already have most of the tools in your drawers or garage. The idea is to make the experience as realistic as possible to fully immerse your child in their role.
The Dinosaur Researcher's Toolkit
To ensure your kids' paleontologist workshop is a success, here is the list of essential materials to gather:
- Soft brushes: Ideal for delicately dusting off "fossils" without damaging them.
- A magnifying glass: Essential for examining the details of the bones and identifying species.
- A sandbox or a large plastic crate: This will serve as the main excavation site.
- Small gardening tools or wooden spatulas: For digging with precision.
- A notebook: So the child can draw their discoveries and note the dates of their findings.
Did you know? The word "paleontology" comes from the Greek "palaios" (ancient), "ontos" (being), and "logos" (study). It is literally the study of ancient living beings!
Crafting Your Own Prehistoric Treasures
The secret to a totally successful at-home dinosaur activity lies in the preparation of the fossils. So that your child truly has something to "discover," you can easily create amazing replicas.
The Magic Recipe for Fossilized Salt Dough
Salt dough is a precious ally. Mix 2 cups of flour, 1 cup of salt, and 1 cup of water. Once the dough is ready, you can press plastic dinosaur toys into it to create footprints or skeletons. Bake them in the oven at a low temperature (100°C / 212°F) for several hours. Once hardened, you can even paint them beige or brown for an "ancient bone" look.
Burial Techniques for a Thrilling Challenge
Once your fossils are ready, it's time for the setup!
- The Classic Burial: Fill your bin with clean sand or potting soil. Hide the fossils at different depths.
- The Plaster Block: For the most patient ones, you can pour plaster around small dinosaur toys in a small container. Once dry, the child will need to use a small (plastic) hammer and a chisel to extract the figures. This is the ultimate activity for a DIY paleontologist kit!
The Workshop Flow: From Earth to Classification
The kids' paleontologist workshop doesn't end with the discovery. Once the bone (or fossil) is extracted, the scientist's real work begins: identification. This is where the learning truly takes hold.
Step 1: Meticulous Extraction
Teach your child patience. We don't dig like a bulldozer! Show them how to use the brush to clear away the dust. If they find a bone, they must clear the area all around it before attempting to lift it.
Step 2: Identification and Logbook
Prepare printed classification sheets. Each dinosaur has its own specifics: was it a herbivore or a carnivore? Did it have feathers or scales? By comparing their discoveries with the sheets, the child develops their observation and deduction skills.
Step 3: Adding Color
To conclude the workshop, offer classification coloring pages. Coloring the dinosaurs helps solidify knowledge: "The Triceratops has three horns, I'll color them yellow!" It is a calm moment after the excitement of the dig that promotes the memorization of the species discovered during the day.
Fun fact: The largest known dinosaur, the Patagotitan mayorum, was about 37 meters long. That is longer than three school buses lined up end-to-end!
Share Your Discoveries and Continue the Adventure
Congratulations, you have succeeded in organizing a kids' paleontologist workshop worthy of the greatest natural history museums! Seeing your child's eyes light up when they unearth their first "fossil" is an invaluable reward. These at-home dinosaur activities are much more than just a game: they cultivate patience, scientific rigor, and a lasting passion for the fascinating world of prehistory.
Don't forget to capture these moments by taking photos of your dig sites and the treasures unearthed. You can even create a "Living Room Museum" with the most beautiful pieces found. And to keep the fun going, we have prepared an exclusive selection of thematic coloring pages. Download our paleontologists-in-action sheets and dinosaur coloring plates now to complete your notebook. Ready for a new expedition? Head over to our dedicated dinosaur coloring page to download your new free templates and continue exploring the wonderful world of the vanished giants!